Tabletop Plastic
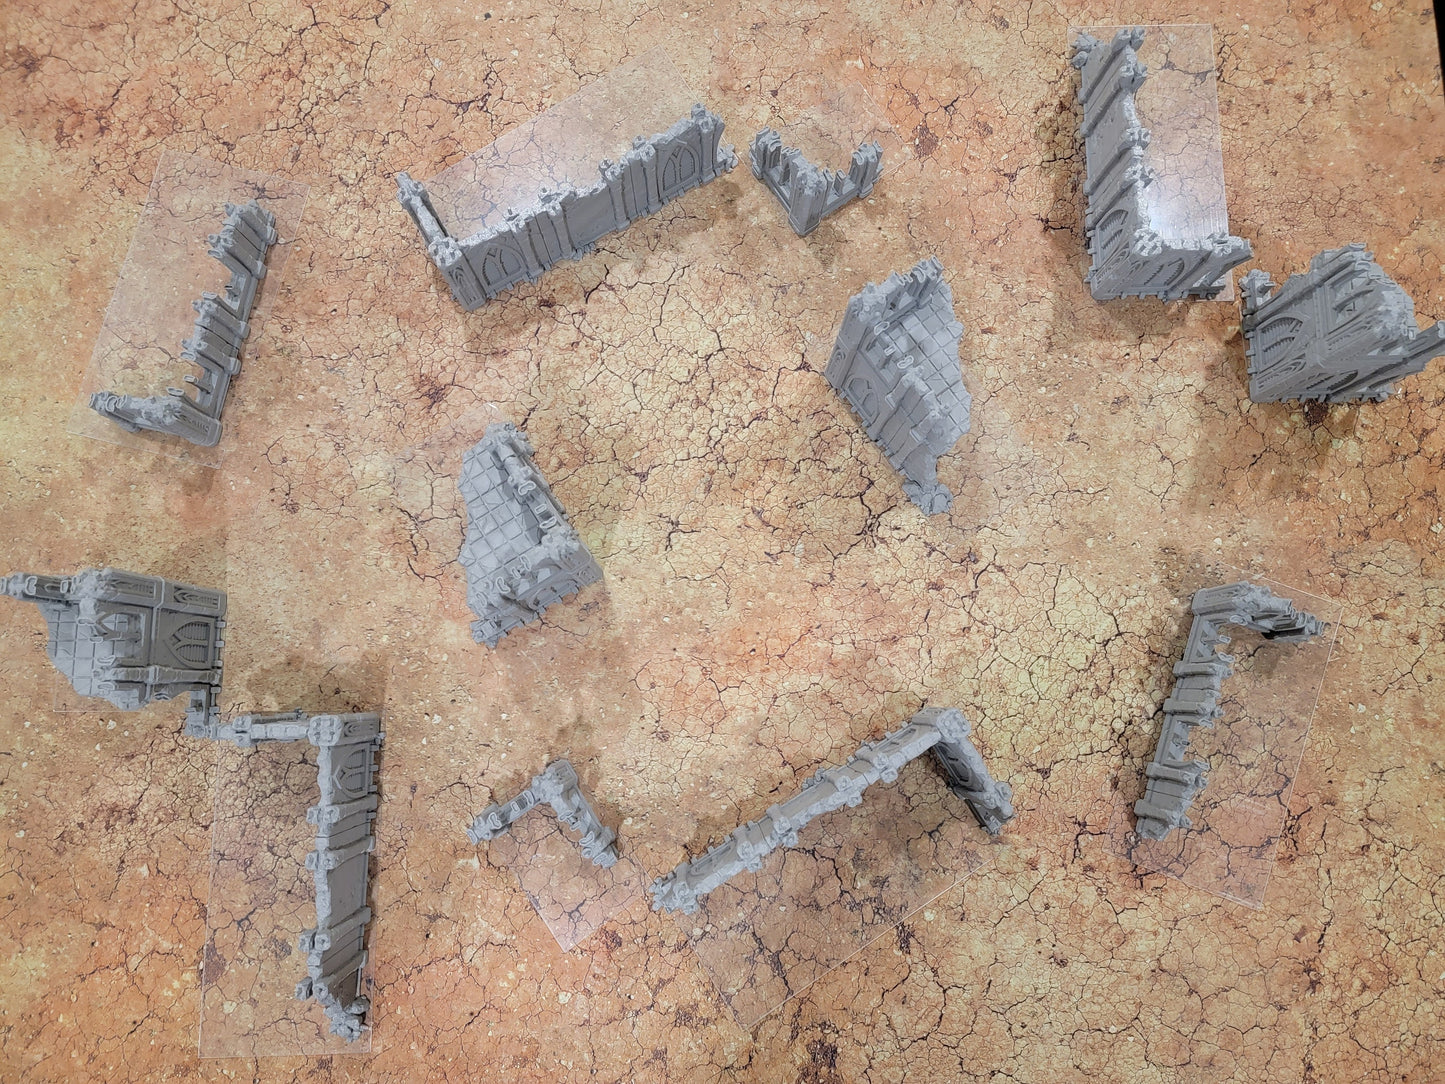
Gothic City Ruins
Gothic City Ruins
Regular price
$224.99 USD
Regular price
Sale price
$224.99 USD
Unit price
per
Couldn't load pickup availability
Drop a battle-scarred gothic cityscape onto your 28mm table.
- Choose Light, Medium or Heavy density
- Multi-storey and single-storey ruins, many as line-of-sight blockers
- 28–32mm scale for grimdark sci-fi skirmish and mass battles
- Durable PLA plastic, ready to prime and paint
- Modular footprints for full-table tournament layouts
Specs: Scale 28–32mm · Material PLA plastic · Designed by Forbidden Prints
Designed by Forbidden Prints and sold under a commercial license.


Buy With Confidence
All returns are accepted. For any reason. Simply contact us at support@tabletopplastic.com
We have a 30-day return policy, which means you have 30 days after receiving your item to request a return.
Refunds
We will notify you once we’ve received and inspected your return. You’ll be automatically refunded on your original payment method within 10 business days.
-
WTC 2025 Tournament Terrain: Foldable Ruins & Containers - Map Pack v2.3
Regular price From $200.00 USDRegular priceUnit price per -
WTC 2025 Tournament: Foldable Ruins & Containers - Map Pack v2.3
Regular price From $240.00 USDRegular priceUnit price per -
Foldable Gothic Ruins Terrain Set: Grimdark Tournament Ready
Regular price From $75.00 USDRegular priceUnit price per -
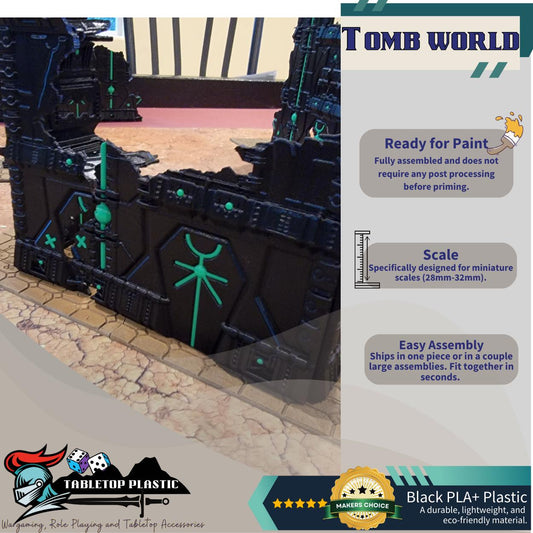
Tomb World Foldable Terrain
Regular price From $200.00 USDRegular priceUnit price per -
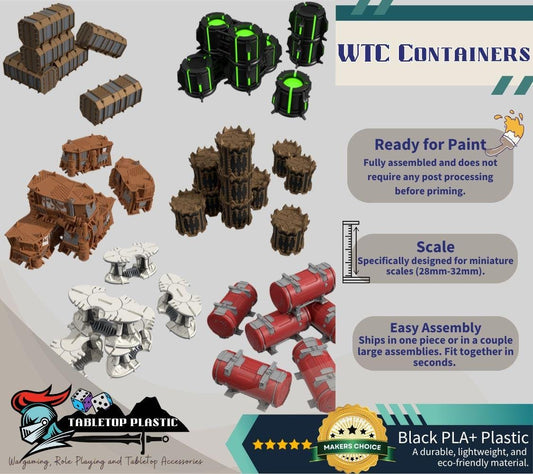
WTC Containers 4 Piece Set
Regular price From $24.99 USDRegular priceUnit price per -
WTC Foldable Wargaming Terrain: Modular Sci-Fi Terrain - Grimdark Tournament
Regular price From $240.00 USDRegular priceUnit price per -
WTC 2025 Tournament Space Elves Terrain: Foldable Ruins & Containers - Map Pack v2.3
Regular price From $200.00 USDRegular priceUnit price per -
WTC 2025 Tournament Greater Good Terrain: Foldable Ruins & Containers - Map Pack v2.3
Regular price From $200.00 USDRegular priceUnit price per -
WTC 2025 Tournament Space Orks Terrain: Foldable Ruins & Containers - Map Pack v2.3
Regular price From $200.00 USDRegular priceUnit price per -
Foldable Gothic Wargaming Terrain: Modular Sci-Fi Ruins - 28mm Tabletop
Regular price From $200.00 USDRegular priceUnit price per -
WTC 2025 Tournament Terrain: Chaos Foldable Ruins & Containers - Map Pack v2.3
Regular price From $200.00 USDRegular priceUnit price per -
WTC 2025 Tournament: Foldable Ruins & Containers - Map Pack v2.3
Regular price From $200.00 USDRegular priceUnit price per -
Ork-Inspired Foldable Wargame Terrain Set | Modular Sci-Fi Ruins | 28–32mm Tabletop Scenery
Regular price From $200.00 USDRegular priceUnit price per -
Foldable Wargaming Terrain: Modular Sci-Fi Ruins - Grimdark Chapter Approved
Regular price From $200.00 USDRegular priceUnit price per -
Foldable Eldar Ruins Terrain Set: 10th Edition Grimdark tournament terrain
Regular price From $200.00 USDRegular priceUnit price per